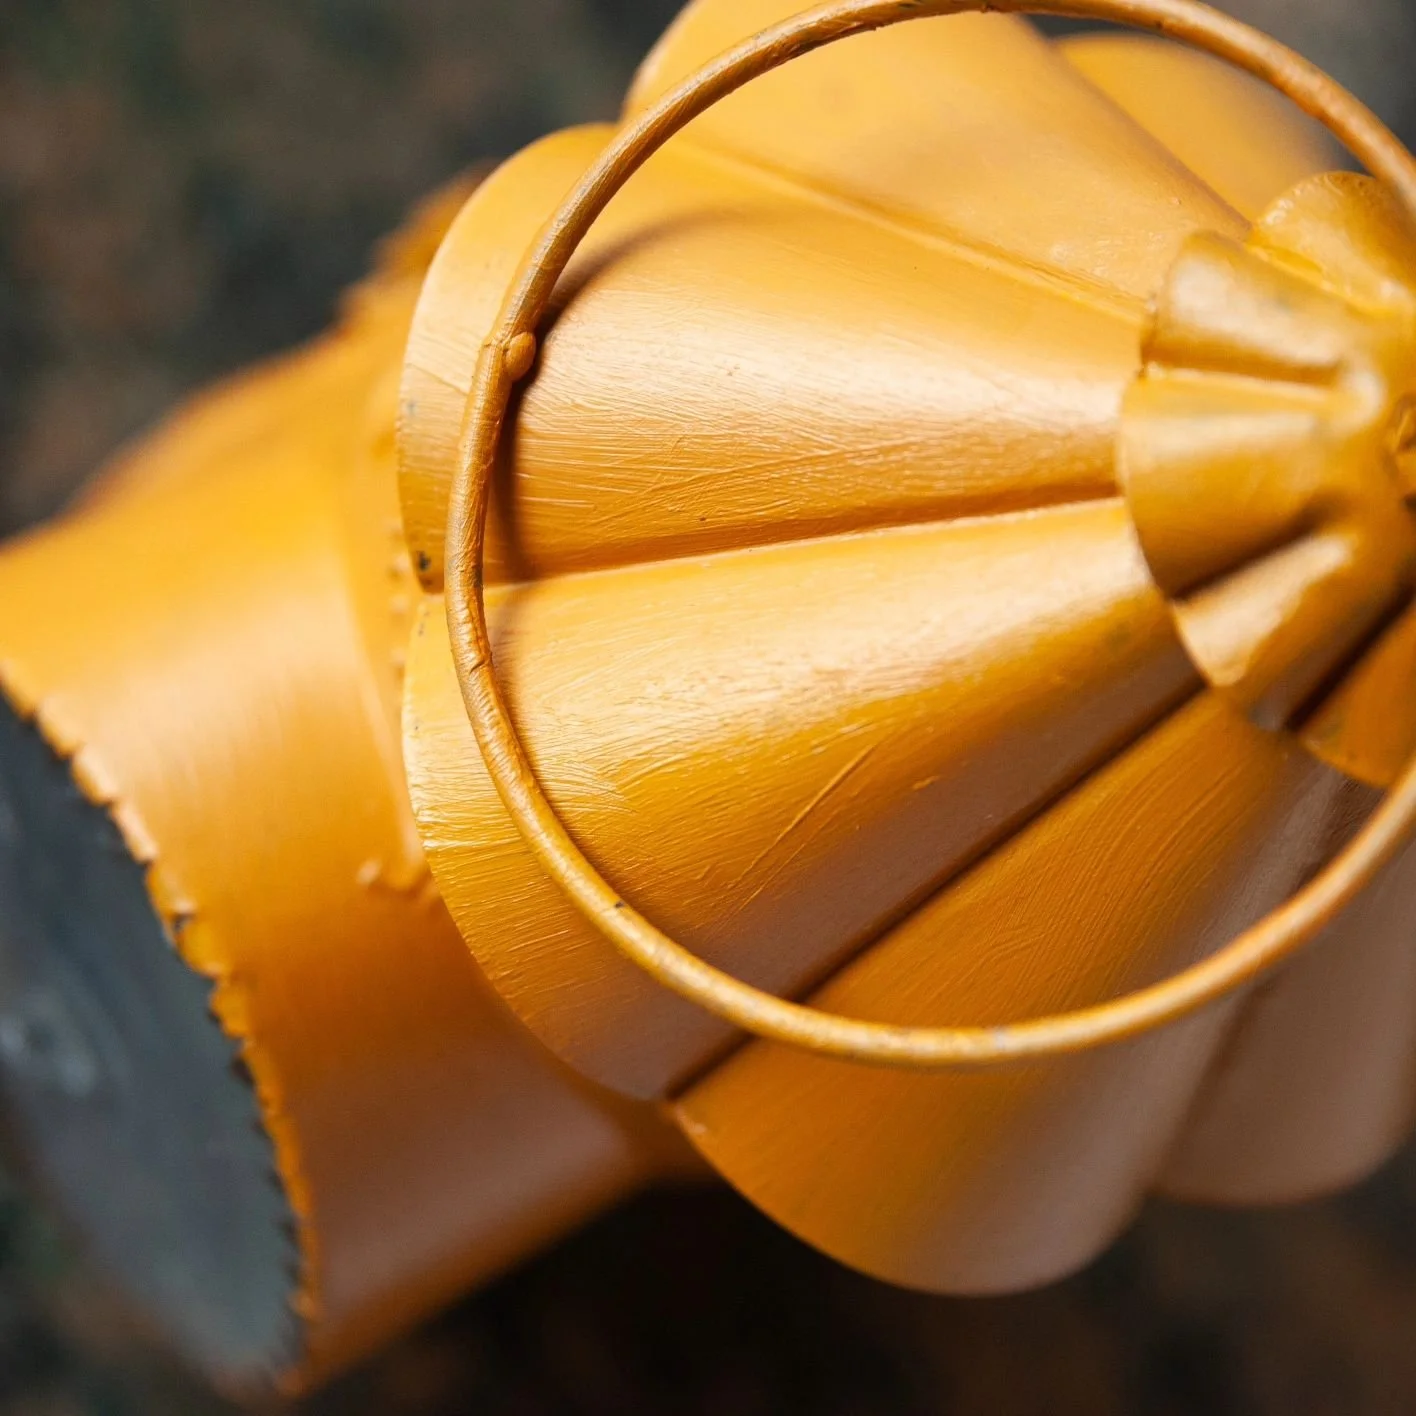
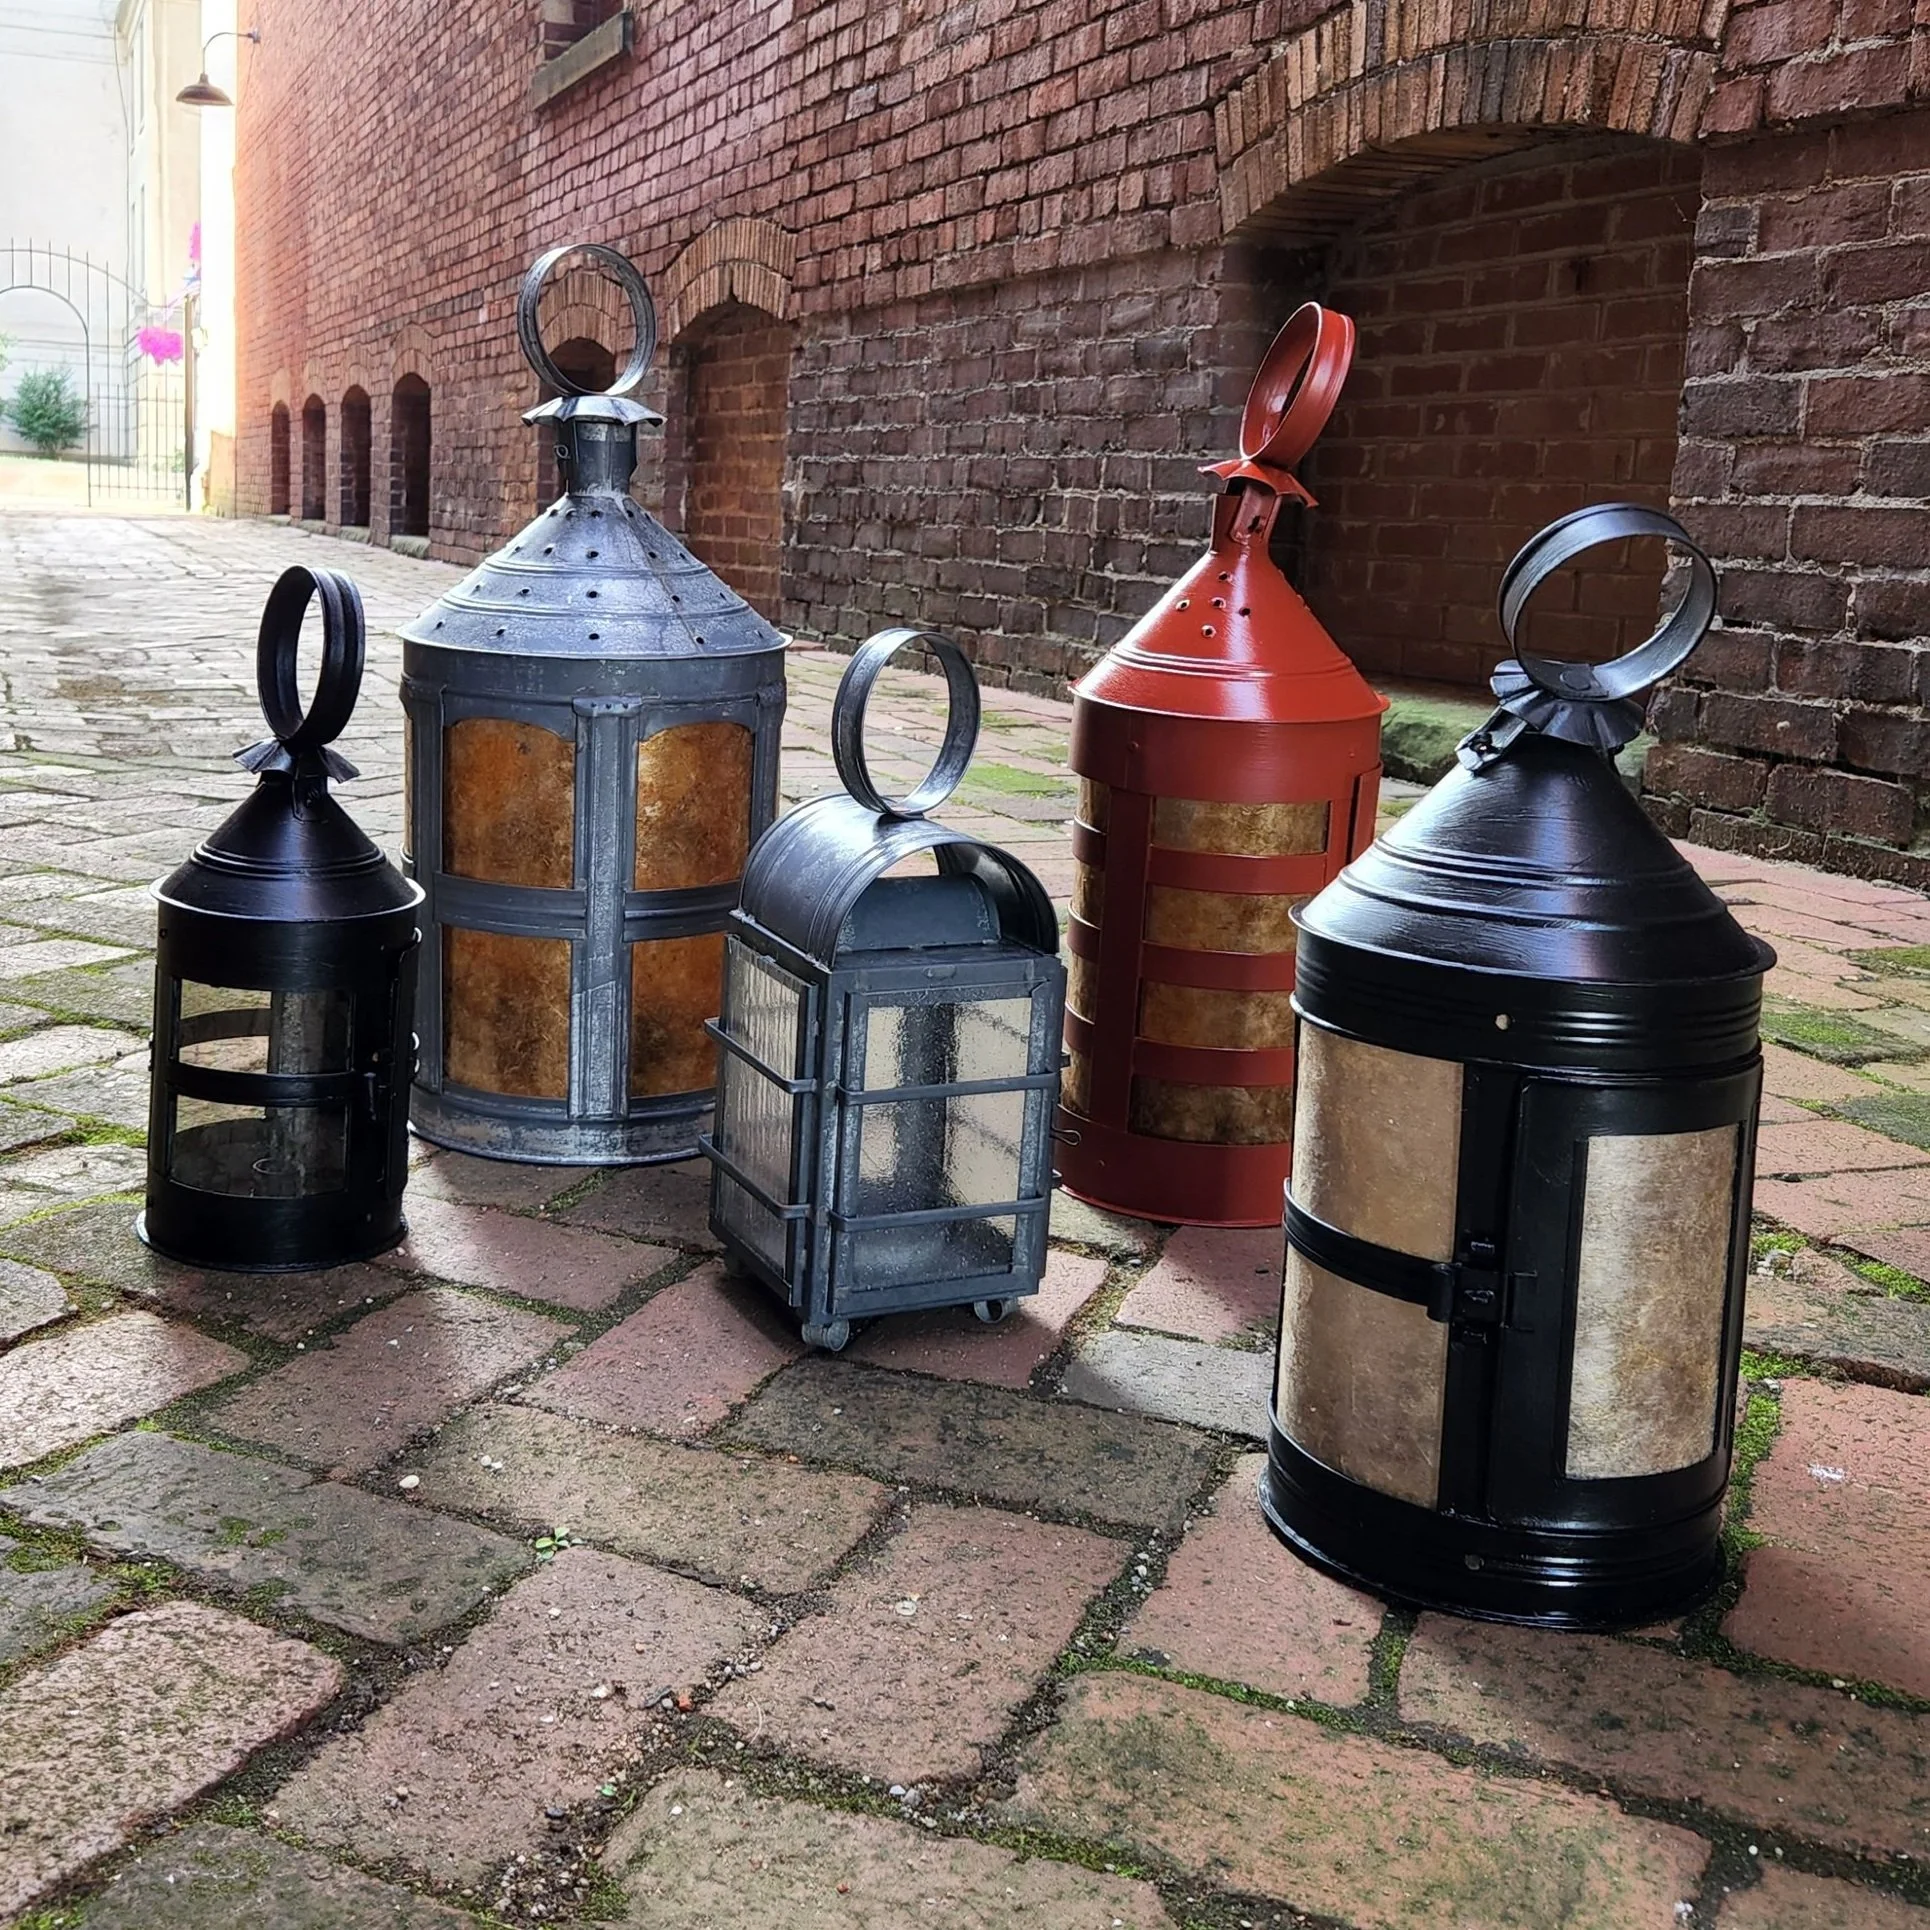
hand-made coopered wooden wash tub
shaving-horse
DSC05032
traditional-shaving-horse
Pearl, Queen of the sea.

Latest

Let’s make a coopered washtub.

The other day I finished up the cedar coopered buckets that I had been working on. They actually hold water after a short soak in the sink.  I have read that using dried cattail pith is the preferred leak sealer for coopers. But finding good cattail to use is a bit difficult around here at the end of January.  I will need to gather a crop of it in the spring to store away for future coopering.  It seems that the cattail pith will absorb water and swell in the gap until the wood staves have time to swell and seal tight. 

So anyway. We have been talking about needing a new washtub to use in our colonial camp setup this year.  I decided to try to make a wooden tub similar in size to the navy tubs mentioned in Kenneth Kilby’s book “The Cooper and His Trade.”  My goal was to hit something near 20″ in diameter at the top and 19″ in diameter at the bottom, with a height of 8″.  The book lists the bottom at 18″, but it turns out that a taper of much more than an inch or so is difficult for a beginner to achieve. I found this out in the process of making two buckets with a 2″ difference in top and bottom diameters.

The biggest difference I noticed between making this larger container and a 12″ bucket was that the temporary bands did not hold the staves in a perfectly rigid fashion. The staves were pulled into a slightly oval-shaped when raised up and tightened with the hoops.  This led to a bit of a problem with the bottom.  I ended up putting a thin layer of colored caulking in the croze to help seal up the bottom since it did not fit the slightly out of round slot just right. This is where the cattails will come in handy in the future.

Here are a couple of shots of the staves being fitted to the temporary bands.

wooden coopered wash tub staves


hand made coopered tub staves

After a lot of fitting and shaving staves I ended up with a tub that will hold water without soaking.  Granted, that would not be true if I had not cheated a little on the bottom.  But it is a definite improvement over my previous stave fitting attempts.hand-made coopered wooden wash tub

I still need to make handles for the wash tub. A better design would have left two opposing staves taller to have hand holes cut into them. The problem was that I was running out of good cedar and did not have anything long enough to make the handles with.  The plan is to forge some side handles to make carrying the tub easier at events.

My arms are sore from all this coopering work. I think I am going to switch over to some tinware projects for a while so I can heal up.


Building a new shaving horse.

I have been wanting to build a new version of the antique shaving horse that I have for a long time.  I acquired this bench about 10 years ago along with several other barrel making tools.  We think the set came from a cooper’s shop in WV from the early days of the oil industry.

This shaving horse is long, nearly 6 ft, and oak, so it is heavy. It has seen a lot of use and is still completely functional. I have been using if off and on, but have always felt that I should make a replacement for use in my shop. It seems a shame to put more wear and tear on such an unusual bench.

 There are a few features that I would like to point out that make this bench nice to use.  The dumbhead, which is the block at the top of the moving arm, has two different sized notches. On the right is a higher notch that is nice for working wide staves on edge. On the left is a lower notch that is the right width for finishing up staves. The flat area in the center is like that standard dumbhead and is good for working the front and backs of staves and for shaping heads and bottoms.

The long shelf in front of the dumbhead seems to be an idea that did not stick around.  I have not seen a shelf this long on other benches. I assume that since this one is from a barrel shop that the long shelf made it easier to support long staves and I can tell you from experience that being able to support bucket staves for the full length is a nice feature.  The three holes in the end of the shelf are still a mystery.

Another good use for the shelf is for holding buckets in place while you shape the outsides with a spoke shave. I have found that if I put a bucket over the shelf and push up under it with my knees that the bucket stays nice and secure, leaving your hands free to manage the tool.

If you look at the bottom of the arm you can see the block of wood on the far end of the pedal. It has enough weight to release the dumbhead from the work when your foot is removed. I have not put this on my new version yet and the difference is remarkable.

The indentations on either side of the bench allow plenty of room to get your legs in close, which makes the shaving horse much more comfortable to work with that full width benches.

So after much procrastination I finally built a new bench based on the antique. For the most part I stuck to the original dimensions with the exception of the height. My bench is a couple of inches higher off the ground to make in more comfortable for me.  Yellow pine 2x12s were used for most parts, with some scrap poplar and pine filling out the rest.  Overall it came out pretty good. The exception being the mortices for the legs. I botched them up pretty good. Sometime I am going to have to rework the business end legs.

One other change I made was to put a leather pad on the center part of the dumbhead. The cedar that I am currently using to make buckets is very soft, and the dumbhead edge was making pretty big dings in the staves. Now with the pad I get a good grip without crushing the wood.

Initially I was going to make the entire bench with hand tools. There was a discussion a while back on the Bodger’s site about the need to use hand tools more. The point being made was why use power tools to make something so you can make things by hand. This person (I can’t remember the name right off), said we should do it all by hand for the experience.  Anyway, having bought into this theory I started making the main bench by hand and did OK for a while. However, when it came time to rip both sides of the three-foot long shelf with my Diston rip saw, the spirit left me.  This and the real desire to get the damn thing done so I could get back to making a bucket really sapped my dedication to the theory. Out came the band saw.  I’ll try harder next time.

This was a good project. It took the best part of a weekend for me to get it all together and used up the best part of a couple of 8 ft 2×12 yellow pine boards.  If you want to build one I would be glad to send you some dimensions and detail photos.

My attempts at coopering a bucket.

After attending the coopering class at Tillers International I became even more interested in learning to make useful coopered containers, such as buckets, tankards, piggens, wash tubs, etc.  There are several types of coopering, but I am concentrating on White Coopering, which is the process of making straight sided water-tight containers. I am having enough trouble with straight sides and have no immediate plans for barrels with curved sides. That is a whole other set of skills.

I am working with western red cedar split rail fencing from the local construction supply store (i.e. Carter Lumber). It is a very nice wood to work with for these buckets. It is mostly straight-grained, soft and splits easier than TV wood (you know, that kind wood they always split on the TV frontier shows, no knots, nearly falls apart on its own..).  The only drawback is that it is very soft and dings up really easy.

Working from the notes and experiences from class I split out the staves and tried to keep them near the right size. It is tough for a beginner because each stave has tapered compound angles on each side, that are shaped on a wooden jointer plane by eye and simple gauge. Here are the staves part way prepared.

I thought I had them reasonably close to the right size for a small naval bucket. Historically this bucket was 12″ in diameter at the top and 10″ in diameter at the bottom. But when I raised the sides of the bucket I had some pretty wicked gaps between staves and the diameter was too small.  It seemed that I had made several of the staves too narrow.  So I made more.

This picture is a good example of what you do not want to see when you look in you bucket after raising. This thing will never hold water this way.

So after a number of redos and adjustments I finally got the staves to line up pretty good and raised it again with the temporary bands so that I could croze the groove in the bottom to hold the bottom in place.

From here it was a good bit of work the get the inside rounded and the  bottom crozed, make the bottom and shave the edges to fit the groove and insert the bottom. I didn’t get any picture of this part.  Once all that was done I could work on rounding the outside with a spokeshave on my shaving horse.  At the end of the weekend I had made it this far with the bucket.  It is far from perfect. But I am hopeful that Chuck was about right when he said after about ten buckets I would be able to make one that did not leak.  So in about 6 more buckets I hope to have a tight bucket.  We will see.

New year, new plans for the shop.

I have not posted much over the past couple of months because I have been working on re-tooling my shop for more hand-tool-centric work.  From now on I want to do as much of my work as I can, within reason, with hand tools. This has created a need to completely rethink my shop and work practices.  Many power tools have been sent to the storage building. I kept the table saw and bandsaw in the shop and will still use them often.  The hand saw now gets used quite a bit for cross-cutting while the chop saw gathers dust on the shelf. The chop saw may go to storage soon.

 The main problem that I am running into is that rather than having a tin shop, blacksmith shop, cooper shop, artists workspace or house fixing shop, I have all the above in a one car garage.  So space is a big issue. I am a big fan of tools on wheels, and stations that can be moved without a hernia. 

The reason I bring all this up is that working with predominately hand tools has many advantages.  First off, noise.  I am so sick of listening to air cleaners, dust collectors and power saws. Also dust.  The very fine dust made my power tools has become a real health issue for me and many other long-term woodworkers.  A day of dusty shop work, even with filtration, often results in massive, brain splitting headaches.  With hand tools the dust is much coarser particles which are easier to deal with. Plus, you work with a lot of shavings that eliminate much of the dust to start with.

In addition to noise and dust, there is the environmental factor. With my hand tools I use a fraction of the electricity used before.  I would guess that I am using power tools maybe 20% of the time now, depending on the project.  Couple the reduced energy with the fact that I try to use as much recycled or discarded material that I can, and I feel better about my energy consumption.  I have struggled with the fact that even though I was making rustic furniture and folk art with basically free and renewable materials, I was using a ton of electricity to do it.

No system is perfect. I will still be burning charcoal in my forge, heating the shop with a gas furnace (wood stove had to go so that I could hook up the forge), and consuming materials. However, I think the shop is headed in a good direction.

The next project that I will be starting is reproducing this shaving horse.

It is an antique that works great for coopering. I want to make a new one for use in the shop so that I can preserve this bench.

Pearl, Queen of the Sea.

Looking back over the months I spent periodically working on this piece I think I really just needed to adding something goofy and fun to the world right now.  We are being bombarded with so much bad news and over sensationalized media crap that I think we really need to find more ways to laugh and have a little fun.  That being said, Pearl is my latest folk art creation.  It all started with an idea that involved making some sort of sea monster in the waves with button scales.  That was really all I had to go with at the start.  I sort of had this Tim Burton critter in my head, all odd and strange.  I also wanted sort of a Loch Ness situation with dark, brooding water and sky as a backdrop.

Here is the shadow box part underway. I used more of the rusty roof tin I have for waves.  I started out with the blue sky, most of which gets covered with rusty smashed bottle caps.

Next, I needed the critter. Using more of the salvaged pine blocks that I have stacked in my shop, I roughed out this dragon sort of design.  I am a beginner when it comes to carving, but I think it gets the idea out there.

Now at this point things started to drift from the original plan.  When I went looking for a bunch of buttons to use I was thinking about muted colors, dark greens and browns, scale-like and all. But what I found was BRIGHT COLORS of many sizes.  Suddenly, Tim Burton was out, Elton John was in.  From here on it just got silly.

Have you ever tried to get the idea of scales across using buttons?  It sounds easy and started out orderly enough.  But as I got into the curves and twists the orderly nature of the button universe started to unravel. You would think that round sea dragon, round button would be a compatible pairing, but no…….

 What definitely was working was the bright colors against the rusty tin. This was starting to look like the most colorful creation I have made.  At some point you just have to let go and run with it. As Owen Wilson said, “let your freak flag fly”.  Besides, I always knew those goofy 4-H camp craft projects would lead to great things (even though I think they all got burned in the trash later on).

So after hours and hours of nailing and glueing buttons onto a wood snake (high art I must say), we ended up at this point.  Maybe the purple eyebrows are a little over the top, but once you give a dragon gold spiral teeth who would have the nerve to stop there.

So here is the finished piece. I really don’t know what to say about it at this point. My wife helped with the design so I have someone to partially blame. However, she love it.  We debated a long time on the name. One perfect idea came to mind, but it is not appropriate to print.  I ended up with Pearl because of the Pearlies, the Brits that sew the white buttons all over their clothes and party .  Do you like her?  Hopefully there is someone out there that will see this and realize that their life is incomplete without a button bedazzled sea monster with devious purple eyebrows and gold teeth swimming in a brooding sea of rust.


 I have listed this piece in my Etsy store.